The Hom's Tardware Official Test Rig
Come One, Come All
Step right up (or sit right down) and take a look at our brand spanking new testing PC! This is what we will be using to run benchmarks on games, software, and other computer things.
The Specs
Let's just get this out of the way, shall we?
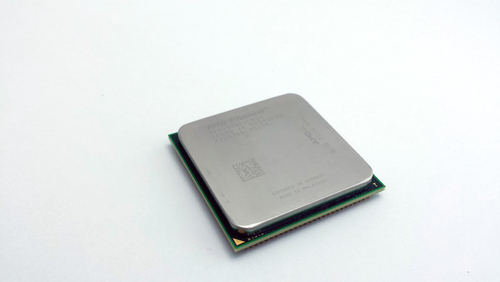
| CPU | AMD Phenom X4 9550 2.2 GHz |
| COOL | Silenx EFZ-92HA2 |
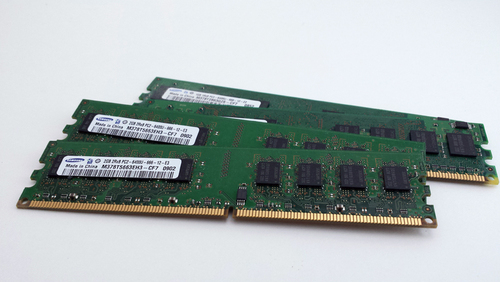
| RAM | 6 GB DDR2 |
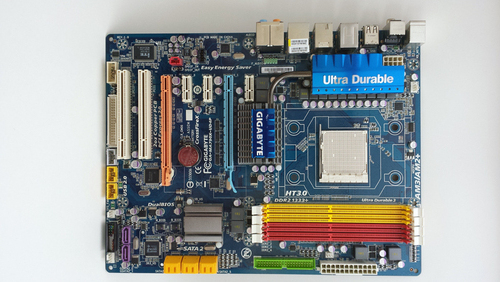
| MOBO | Gigabyte GA-MA790X-UD4P Motherboard |
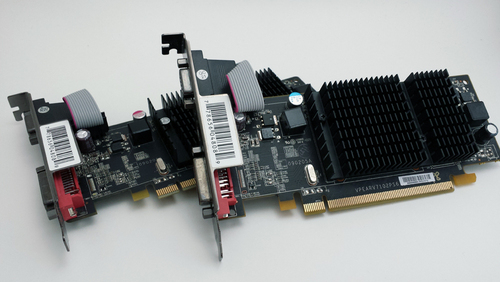
| GPU | 2x ATI Radeon HD 4350s in CrossFire |
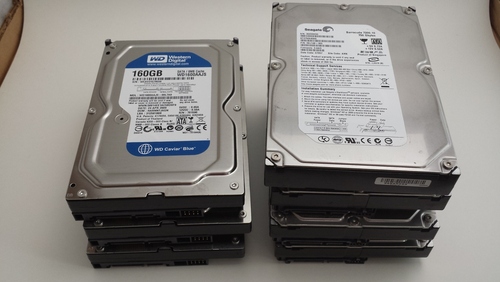
| HDD | 3x 160 GB WD Blue 7200 RPM |
| HDD | 4x 750 GB Seagate 7200 RPM |
| PSU | Corsail CX600 600W |
| CASE | NZXT Source 210 |
| FANS | 2x Xigmatek XLF white LED |
| M&K | Microsoft Wireless 800 |
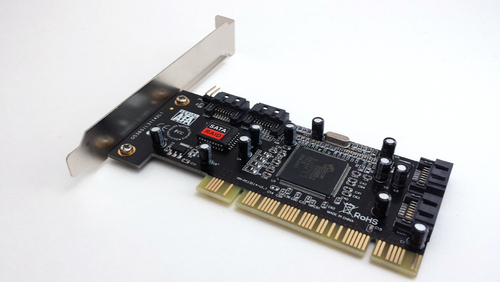
| MISC | Monoprice 4 port SATA controller |
So, as you can see, we are going for a maximum spread across different kinds of price points, usages, and demographics, which is reflected in the highly multicolored and diverse nature of the final build. But more on that later! First...
Let's Meet the Stars of the Show!
Here are the main internals
 |
 |
 |
 |
 |
 |
click to enlarge
The Build
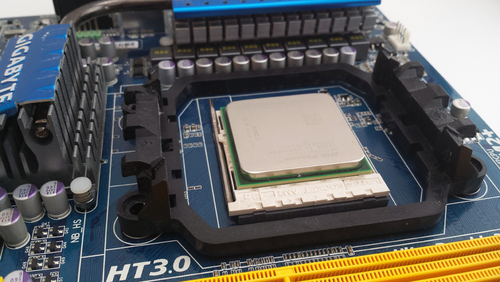
First step was to mount the CPU onto the motherboard. The motherboard did not come with
the AMD CPU cooler mounting bracket (notice in the picture above the bracket is missing),
probably because the previous owner unscrewed it completely instead of just unmounting the
cooler. But that was a minor setback, because we had a spare.
click to enlarge
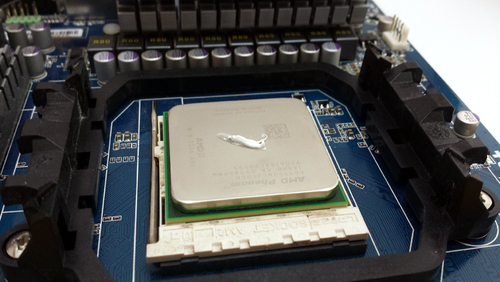
Next, we needed to add some thermal paste to mount the CPU cooler. There are different schools of thought
on how to apply thermal paste. Most reputable sources will advise adding a blob of paste about the size of
a grain of rice or so. Others will tell you to slather it on there like how grocery stores make cakes that
are 50% icing so they can bake smaller cakes faster.
We opted for a vaguely turd-shaped grain of rice.
click to enlarge
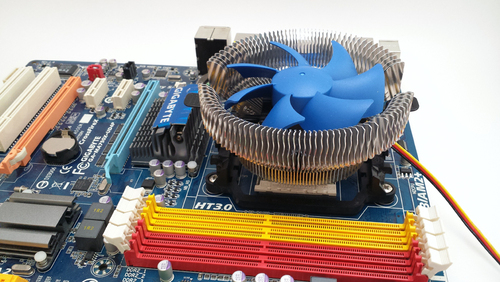
And now with thermal paste, we mounted the cooler. With AMD coolers, you simply press it down onto the CPU
to let the paste spread, then pull down the tabs to lock onto the bracket. Pulling the tabs down takes a
bit more effort than expected, so expect that. Also, take care to mount the cooler with the cable facing
the right direction for easy plugging.
click to enlarge
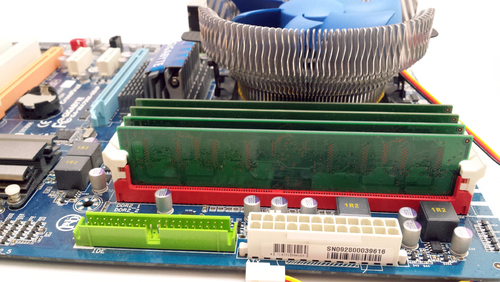
Now for some RAM! We wanted maximum memory, and so opted for 6 GB of DDR2, which we may upgrade to 8 or
16 down the road. 6 GB is divided into two sticks of 2 GB and two sticks of 1 GB. The motherboard manual
advised following the color scheme for different size sticks, so the 2 GB sticks are in the yellow slots,
the 1 GB sticks are in the red slots.
click to enlarge
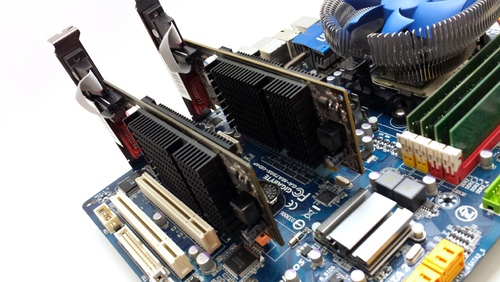
Time for our monster graphics cards. We installed the two Radeon HD 4350s in preparation for CrossFire.
Having them in CrossFire should bring performance about equal to a Radeon HD 8700, right? Moving on,
nothing special here, just plopping the cards in the PCI slots.
click to enlarge
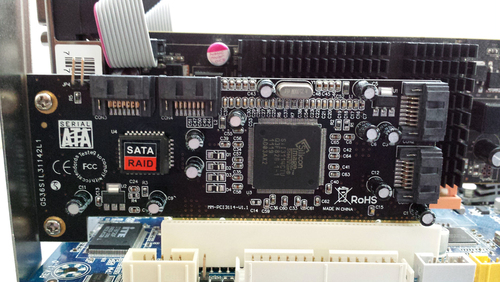
And finally, add the RAID controller last. The motherboard has 6 SATA ports, which should be plenty for
most people (but not us, because we have 7 drives), plus an additional 2 GSATA ports (which I'd avoid).
The RAID controller, however, lets us set up RAID with specialty hardware and drivers, and not through
any software-based RAID on the motherboard itself.
click to enlarge
Finishing Up
I forgot to take pictures of the last few steps, which were:
- Put everything in the case (including the fans)
- Connect fans and front panel connectors to the motherboard
- Hook everything up to the PSU
- Attempt to manage the cables
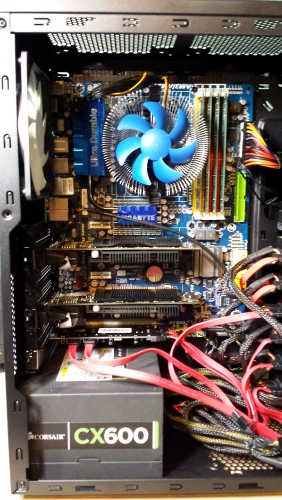
Here is a shot just after putting everything in the case. The cables are a mess, which is understandable
since there's a lot of cables. Also, by this point, I was tired of plugging things in and trying
to get everything to fit, so I couldn't have been bothered with making it look nice.
click to enlarge
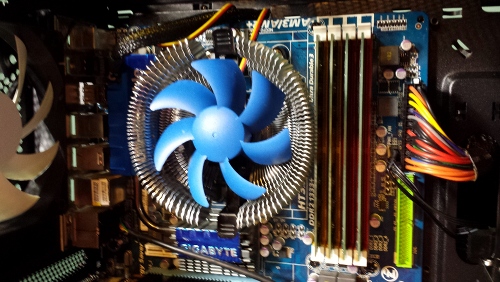
Look at these ugly PSU cables plugged into the motherboard. They're hideous. We need cables that match
the beautiful color scheme of the motherboard!
click to enlarge
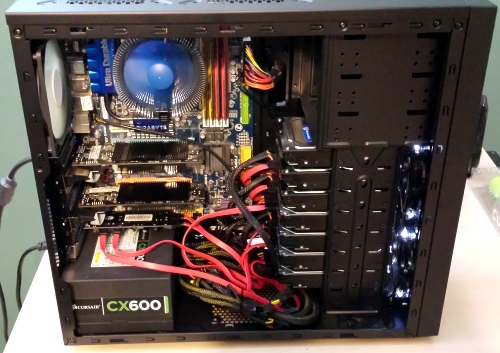
Here she is, up and running! This was just a test boot to make sure everything was working as intended.
You may also notice that the top-most hard drive is not connected. This is because I ran out of SATA power
headers on the PSU. I later acquired a molex-to-SATA adapter and connected the hard drive.
click to enlarge
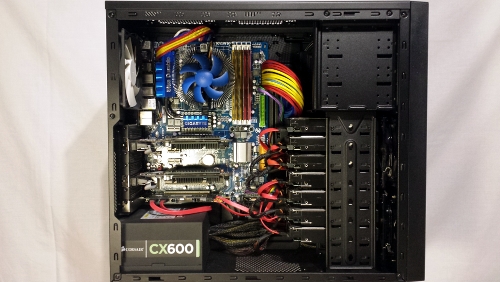
The final build, showcased in all its glory! We had color-coordinated sleeved cables generously donated
to us by Lord Almighty Jappetto. Cable management was difficult for this build, due to the large number of
SATA cables, the case not being designed for such high-end use, and the PSU not being modular. But in the
end, we have a beautiful, working computer! Thanks for looking!
click to enlarge
Alok, Mar '14